Professional Techniques for Effective PPF Application: A Complete Guide
When it comes to keeping your vehicle looking pristine, paint protection film (PPF) stands as one of the most effective solutions available. You might wonder why some cars maintain that showroom gleam without a single scratch—the answer often lies in a quality PPF application. This isn't simply about applying a protective layer; it's a skilled craft that combines the right tools, proven techniques, and careful attention to detail to achieve flawless results. Whether you're a professional installer or an automotive enthusiast looking to protect your investment, understanding the fundamentals of PPF application will help you achieve professional-grade results that last for years.
Essential Tools and Materials
Success in PPF applications begins with the right equipment. Quality tools are just as important as selecting premium films, as even the best materials won't yield satisfactory results without proper application methods. Your toolkit should include specialized squeegee tools designed specifically for the PPF application. These differ significantly from standard window tinting tools, featuring softer, more flexible edges that navigate curves and contours without risking scratches on either the film or vehicle surface. The enhanced flexibility allows for better control around complex areas like bumpers and side mirrors. A heat gun serves as another critical component in your arsenal. This tool helps the film conform to challenging angles and curves but requires careful use since excessive heat can compromise the film's integrity. The key lies in applying just the right amount of warmth—enough to make the film pliable, but not so much that it causes distortion or damage. To facilitate positioning during application, a spray bottle filled with a soap solution proves invaluable. Mixing a few drops of mild dish soap with water creates a lubricating solution that allows for simple adjustments before the film adheres permanently. This solution provides essential wiggle room when positioning PPF over complex contours and edges. Microfiber towels are fundamental to the entire process, essential for cleaning surfaces before installation and maintaining a contamination-free environment. These towels ensure that no dust or debris interferes with proper adhesion—even the smallest particle can compromise an entire installation. Additionally, a clay bar serves as a crucial decontamination tool. This specialized cleaning aid removes embedded contaminants from the vehicle's surface that regular washing cannot eliminate, creating the smooth, clean canvas necessary for optimal film adhesion.
Professional Application Techniques
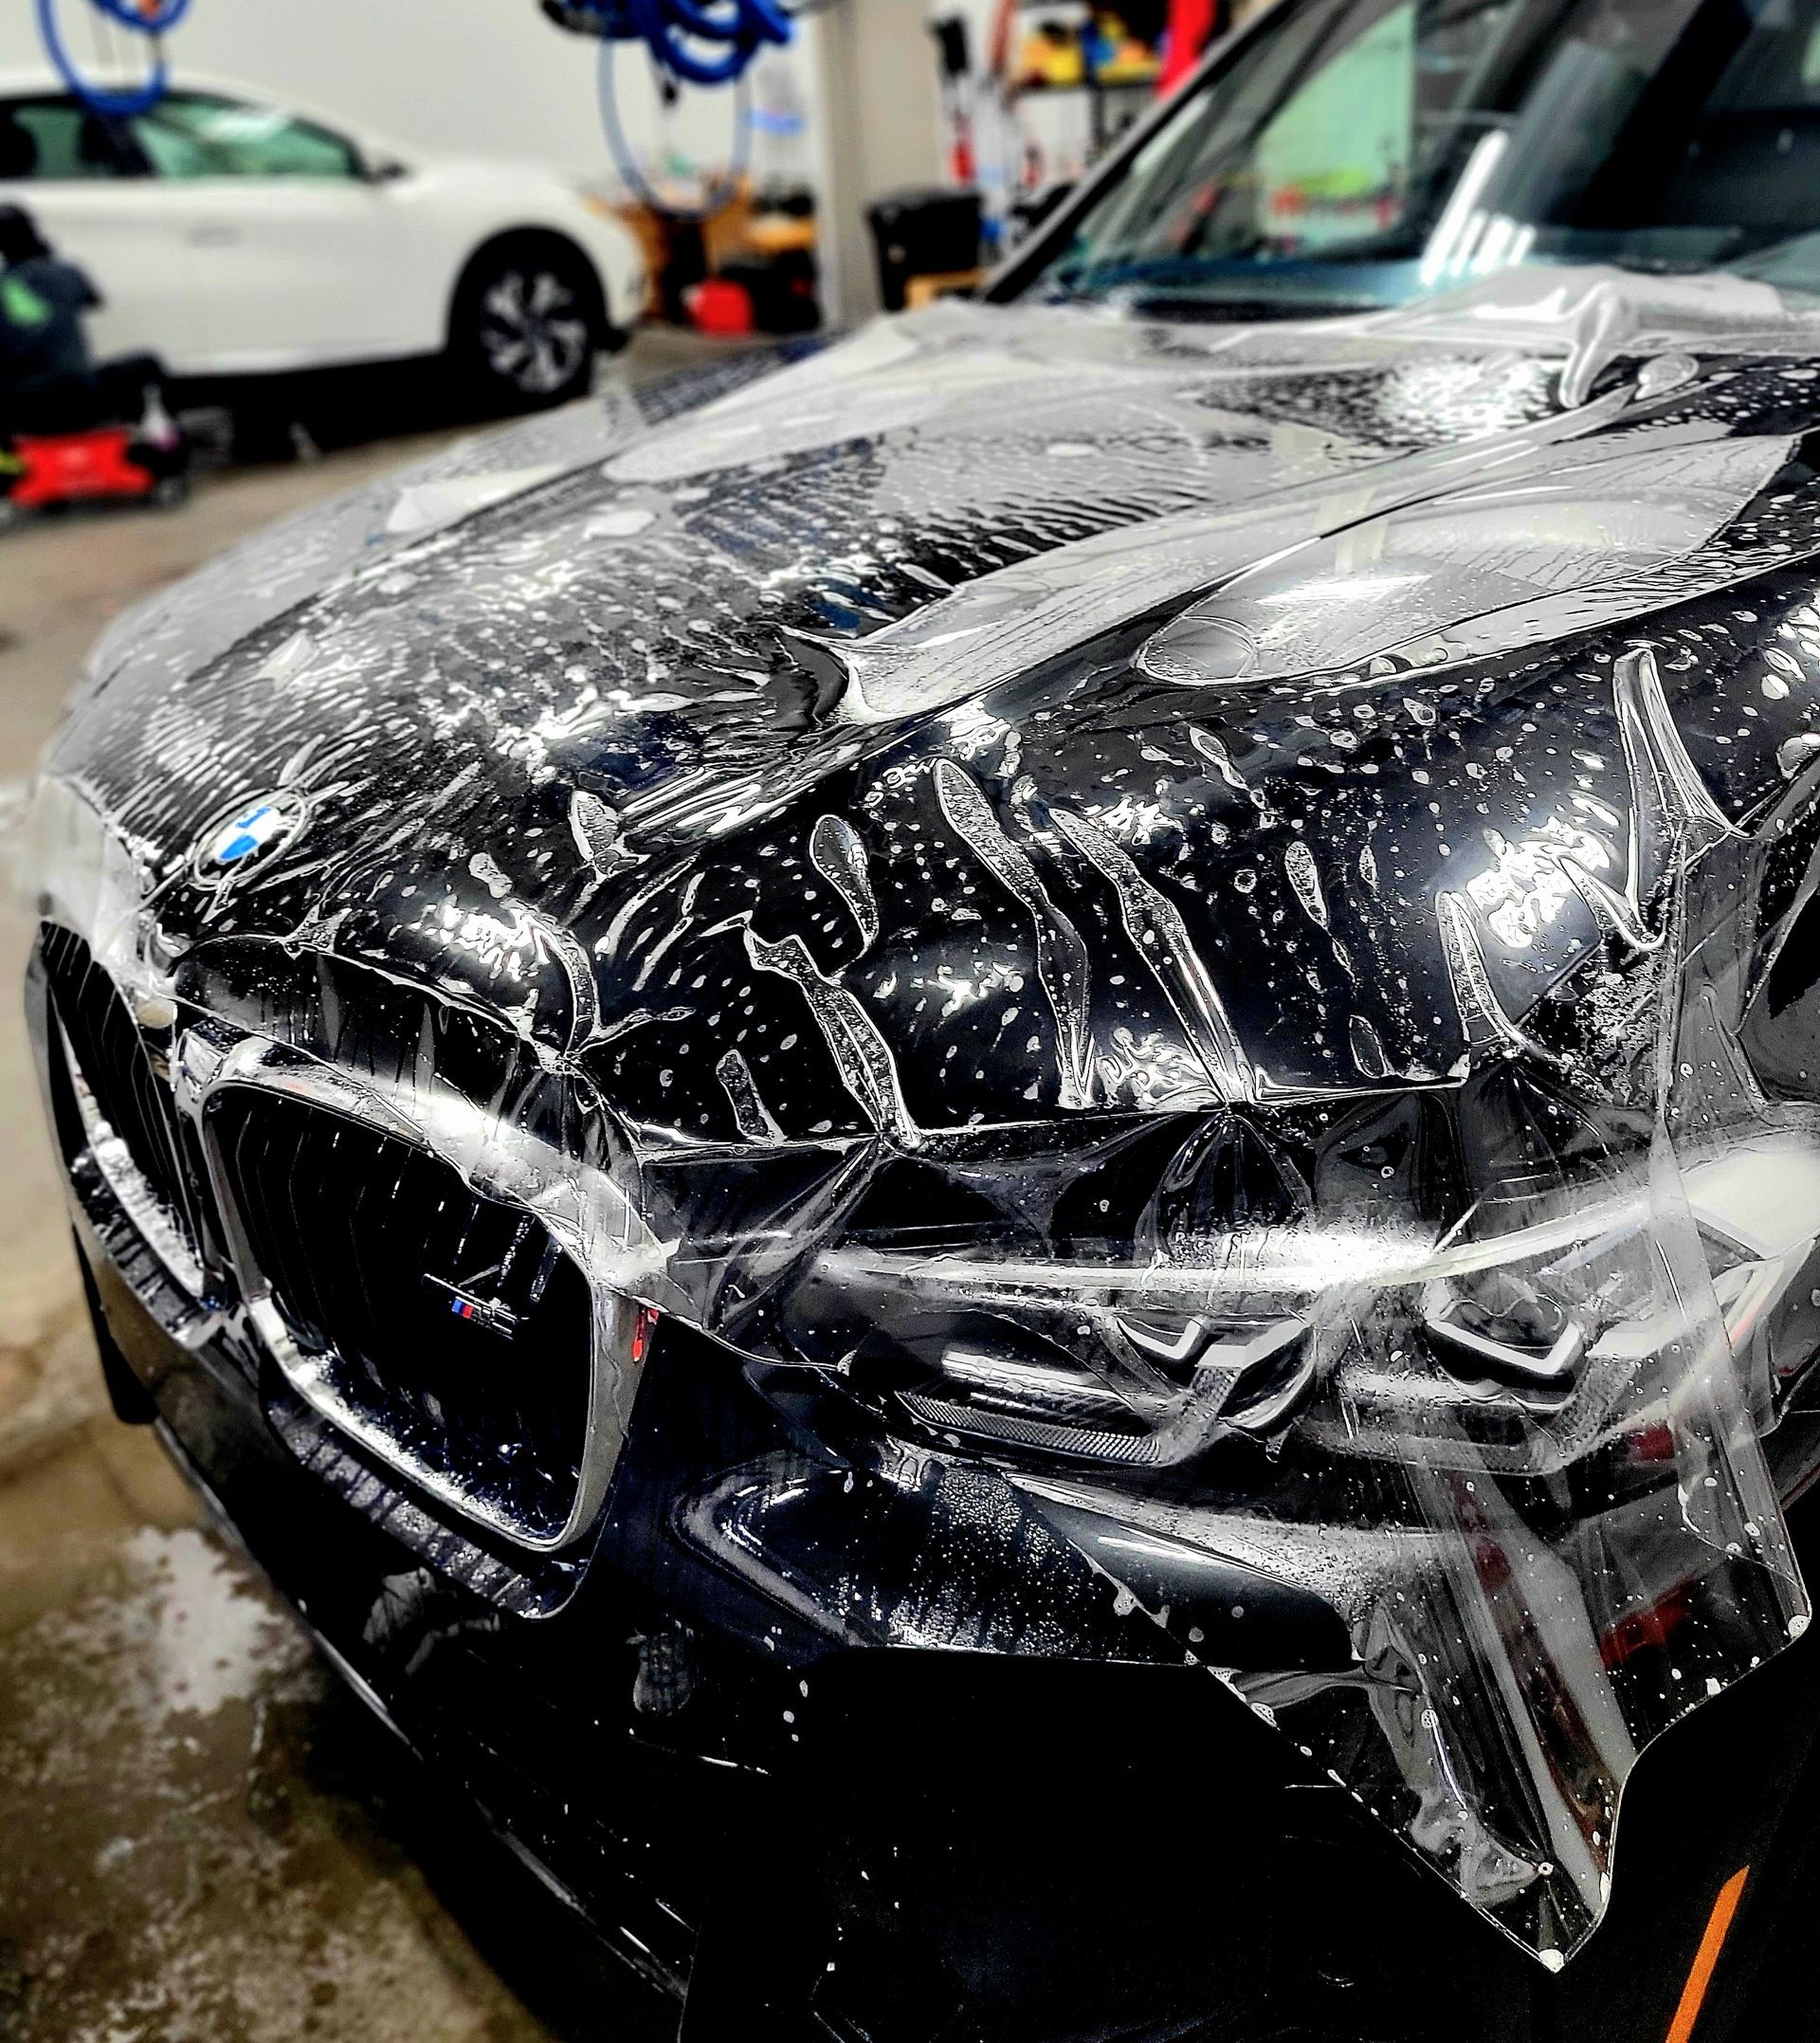
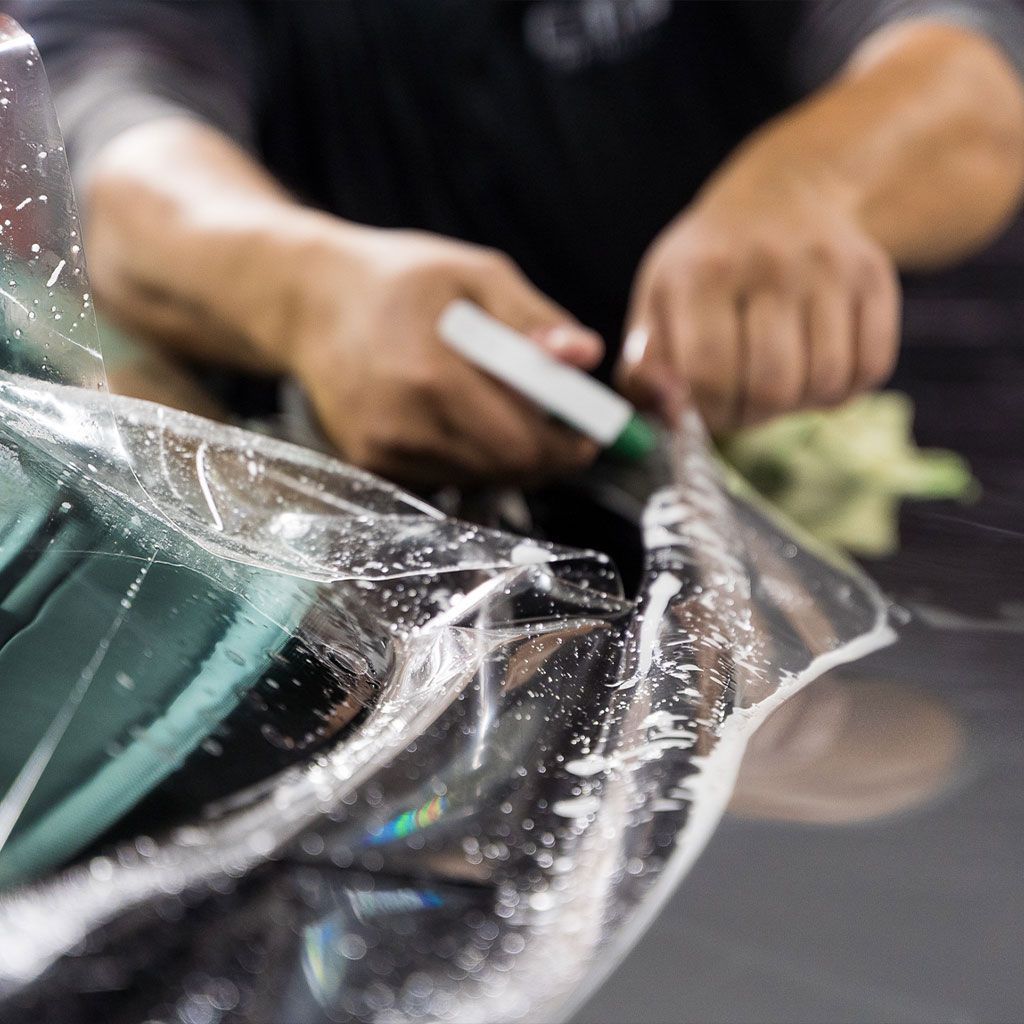
The Wet Method
Professional installers often favor the wet method for its flexibility and forgiving nature. This technique allows for repositioning of the film before permanent adhesion occurs, making it ideal for achieving perfect alignment. To execute this method effectively, prepare your soap solution by mixing a few drops of mild liquid soap with warm water in a spray bottle. Apply this mixture generously to both the vehicle's surface and the adhesive side of the film. The solution reduces friction and improves visibility during the critical alignment phase. Position the film carefully, taking time to ensure proper placement. Once satisfied with the positioning, use a squeegee to remove the liquid and air bubbles, working from the center outward in overlapping strokes. This methodical approach ensures complete removal of trapped air and solution. The wet method's primary advantage lies in its flexibility—multiple adjustments can be made until everything aligns perfectly. However, patience remains paramount throughout the process. Failing to remove all excess liquid can result in trapped bubbles that compromise both appearance and longevity.
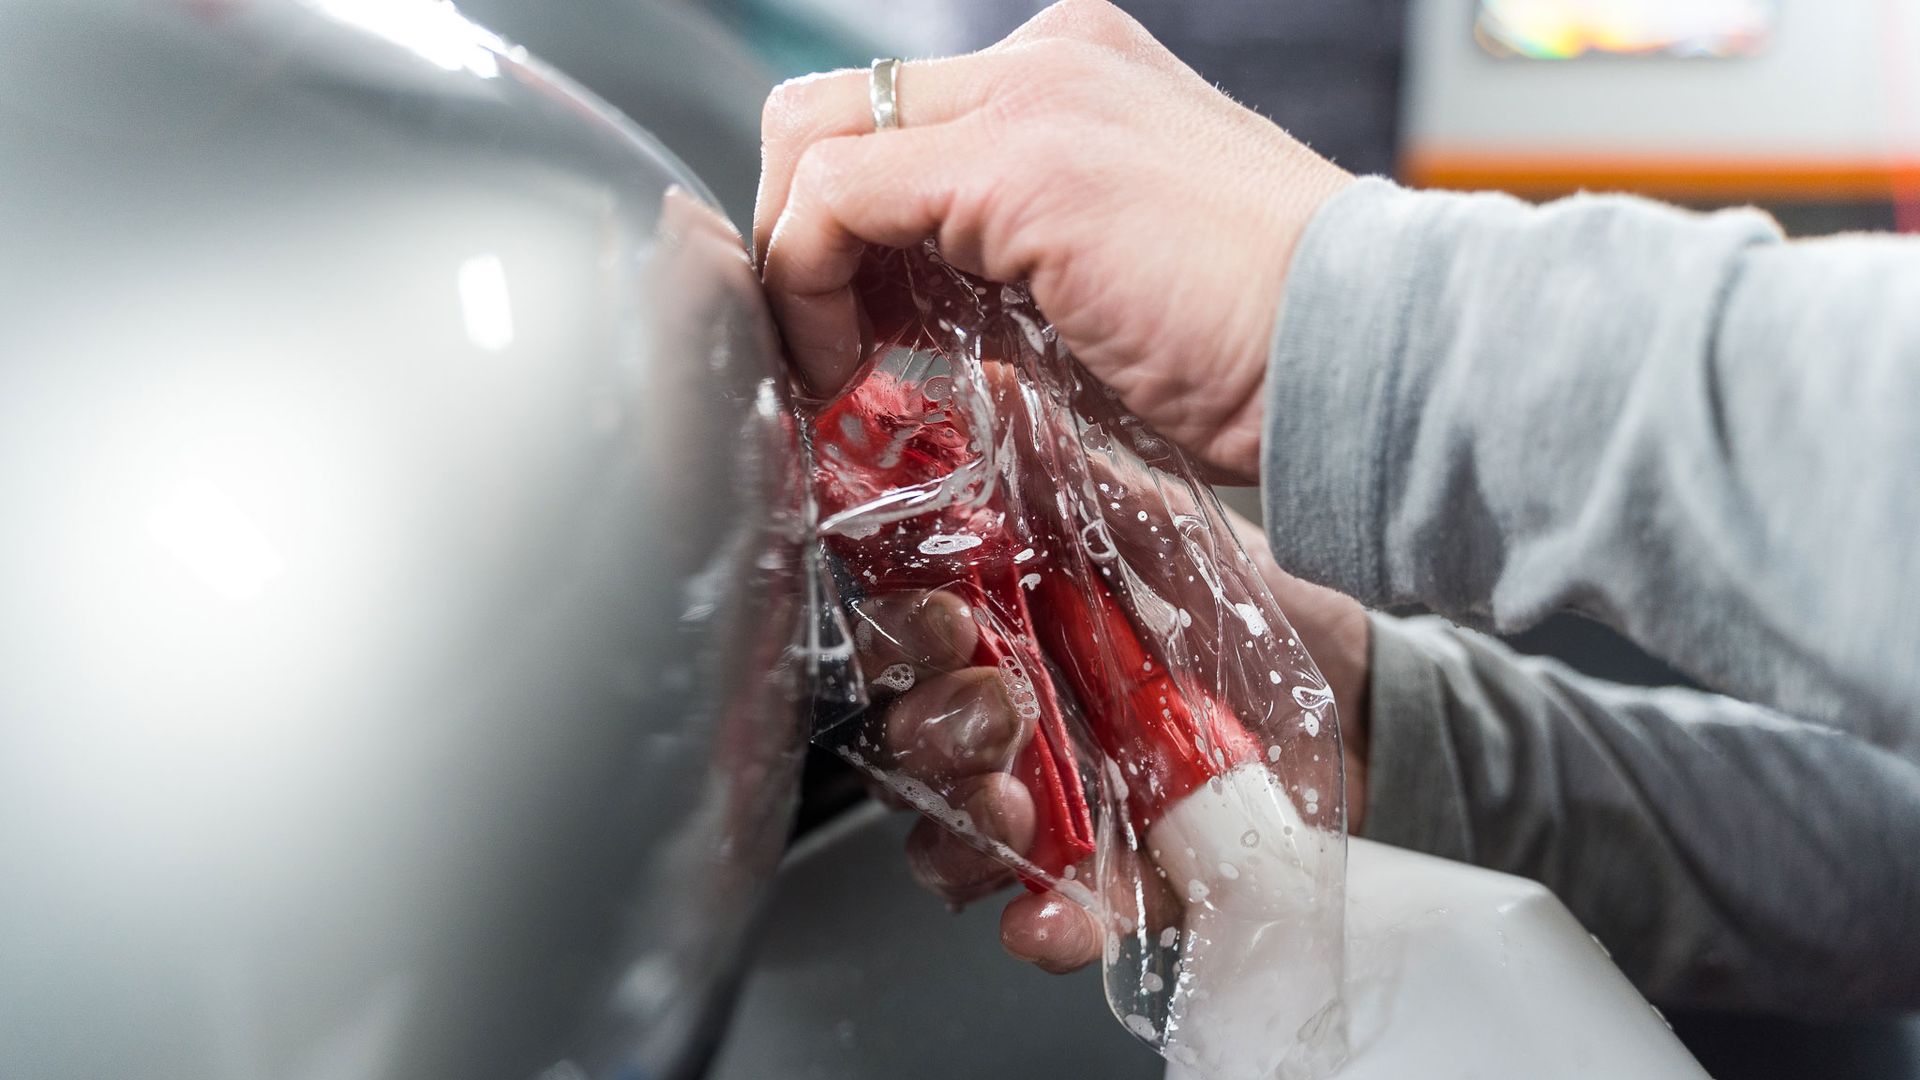
Stretch and Tuck Technique
For handling complex curves and challenging edges, the stretch and tuck technique proves invaluable. This method excels when working with intricate areas such as bumpers, mirrors, and body panel transitions. Execute this technique by gently stretching the film over the vehicle's contours, maintaining a delicate balance between adequate coverage and film integrity. Excessive force can damage the material, while insufficient stretching may leave gaps in protection. Once properly stretched across curves, tuck any excess film underneath body panels for a seamless, professional finish. This technique creates a clean appearance and provides additional protection against potential peeling or wear at vulnerable edges. When performed correctly, the result appears almost invisible, showcasing the vehicle's original design while providing comprehensive protection.

Surface Preparation Fundamentals
Proper surface preparation forms the foundation of any successful PPF installation. This critical phase directly impacts both the film's adhesion and its long-term performance. Begin with thorough cleaning. Use a mild automotive detergent that is specifically designed to break down grease, grime, and road contaminants. Wash every surface carefully with a soft microfiber mitt, paying special attention to areas where PPF will be applied. The cleaner the surface, the more effective the film's adhesion will be. Following the initial wash, decontamination becomes essential for removing stubborn particles that soap alone cannot address. Use a clay bar with appropriate lubrication to remove tree sap, bird droppings, industrial fallout, and other contaminants that cling to paint surfaces. This step ensures no debris becomes trapped beneath the film, which would create unsightly imperfections and compromise protection. Complete the preparation process by thoroughly drying all surfaces with clean microfiber towels. These specialized cloths won't leave lint or cause scratches—imperfections that would undermine your careful preparation work. Ensure no water spots remain, as even tiny droplets can affect film adhesion.
Application Methods
- Dry Application -Dry application offers advantages for smaller areas and detailed work around edges, door handles, and mirrors. This method provides excellent control and typically results in a clean finish without moisture concerns. For dry application, ensure the surface is completely clean and dry before beginning. Remove any dust, oils, or contaminants that might compromise adhesion. Carefully peel back the film liner and position it precisely over the target area. Use steady pressure with your squeegee to eliminate air bubbles, working methodically to achieve smooth application.
- Wet Application -The wet application method is still the preferred choice for larger surfaces because it offers flexibility and ease of repositioning. This technique proves particularly valuable for full-panel installations where precise alignment becomes critical. Apply your prepared soap solution generously to both the film and vehicle surface. This lubrication allows for sliding and adjustment until achieving perfect placement. Once positioned correctly, use systematic squeegee work to remove both water and air bubbles from underneath the film.
Trimming and Finishing Techniques
Professional results depend heavily on proper trimming and edge finishing. Always use sharp blades designed for automotive applications, as dull tools can snag the film and create uneven edges. Replace blades frequently to maintain cutting precision. Allow extra film during initial positioning rather than cutting too close to templates. This margin provides flexibility for adjustments and ensures complete coverage without gaps that might expose the vehicle's paint. Trim excess material carefully once the film is properly positioned and adhered. Novice installers often overlook edge sealing as a crucial final step. Use gentle heat to activate the adhesive fully along all edges, then apply firm pressure with your squeegee to ensure secure bonding. This technique prevents lifting over time and minimizes moisture penetration.
Advanced Techniques for Enhanced Protection
For maximum protection in high-impact areas, consider double-layering techniques. Apply two layers of PPF to vulnerable zones like front bumpers and hoods, ensuring the first layer is perfectly smooth before adding the second. This method significantly enhances durability while maintaining visual appeal. Seamless application techniques involve carefully overlapping edges to create nearly invisible joints. This advanced method requires precision but results in superior protection and enhanced aesthetics. The key lies in creating overlaps so subtle they remain undetectable to casual observation.
Achieving Professional Results
Success in a PPF application comes from understanding that each step builds upon the previous one. Proper tool selection, meticulous surface preparation, and patient application techniques combine to create installations that protect your vehicle while maintaining its original beauty. Remember that quality PPF installation represents an investment in your vehicle's long-term appearance and value. Taking time to master these professional techniques ensures results that will provide years of reliable protection while keeping your vehicle looking its absolute best. The art of PPF application rewards those who approach it with patience, precision, and attention to detail. By following these professional techniques and maintaining high standards throughout the process, you can achieve results that rival those of the most experienced installers in the industry.
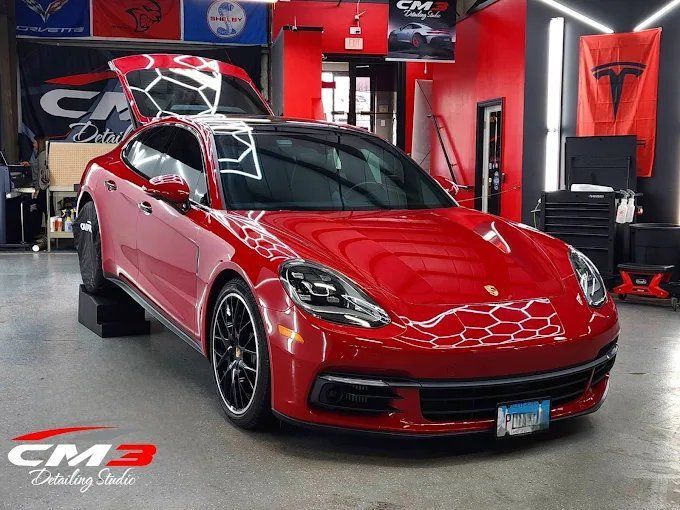
Exceptional PPF Services in Elgin, IL
At CM3 Detailing Studio & Ceramic Coating, we specialize in
premium paint protection film (PPF) services
that keep your vehicle safe from road debris, chips, and fading—all while preserving its flawless finish. Our skilled team in Elgin, IL uses advanced techniques and high-quality film to ensure seamless coverage that blends perfectly with your vehicle’s design. Protect your investment today and enjoy the confidence of driving a car that stays sharp, glossy, and showroom-ready for years to come.
Schedule your appointment now and give your vehicle the protection it deserves!