Common Mistakes After Getting Your Auto Tint Installed and How to Avoid Them
Getting your car windows tinted can feel like a quick upgrade, but what happens right after the film goes on can make all the difference between a perfect finish and a costly headache. Many people don't realize that simple mistakes after installation, like rolling down windows too soon or using the wrong cleaners, can cause bubbling, peeling, and fading. Knowing what to avoid and how to care for your tint early on protects your investment and keeps your windows looking sharp for years.
Common Installation Errors
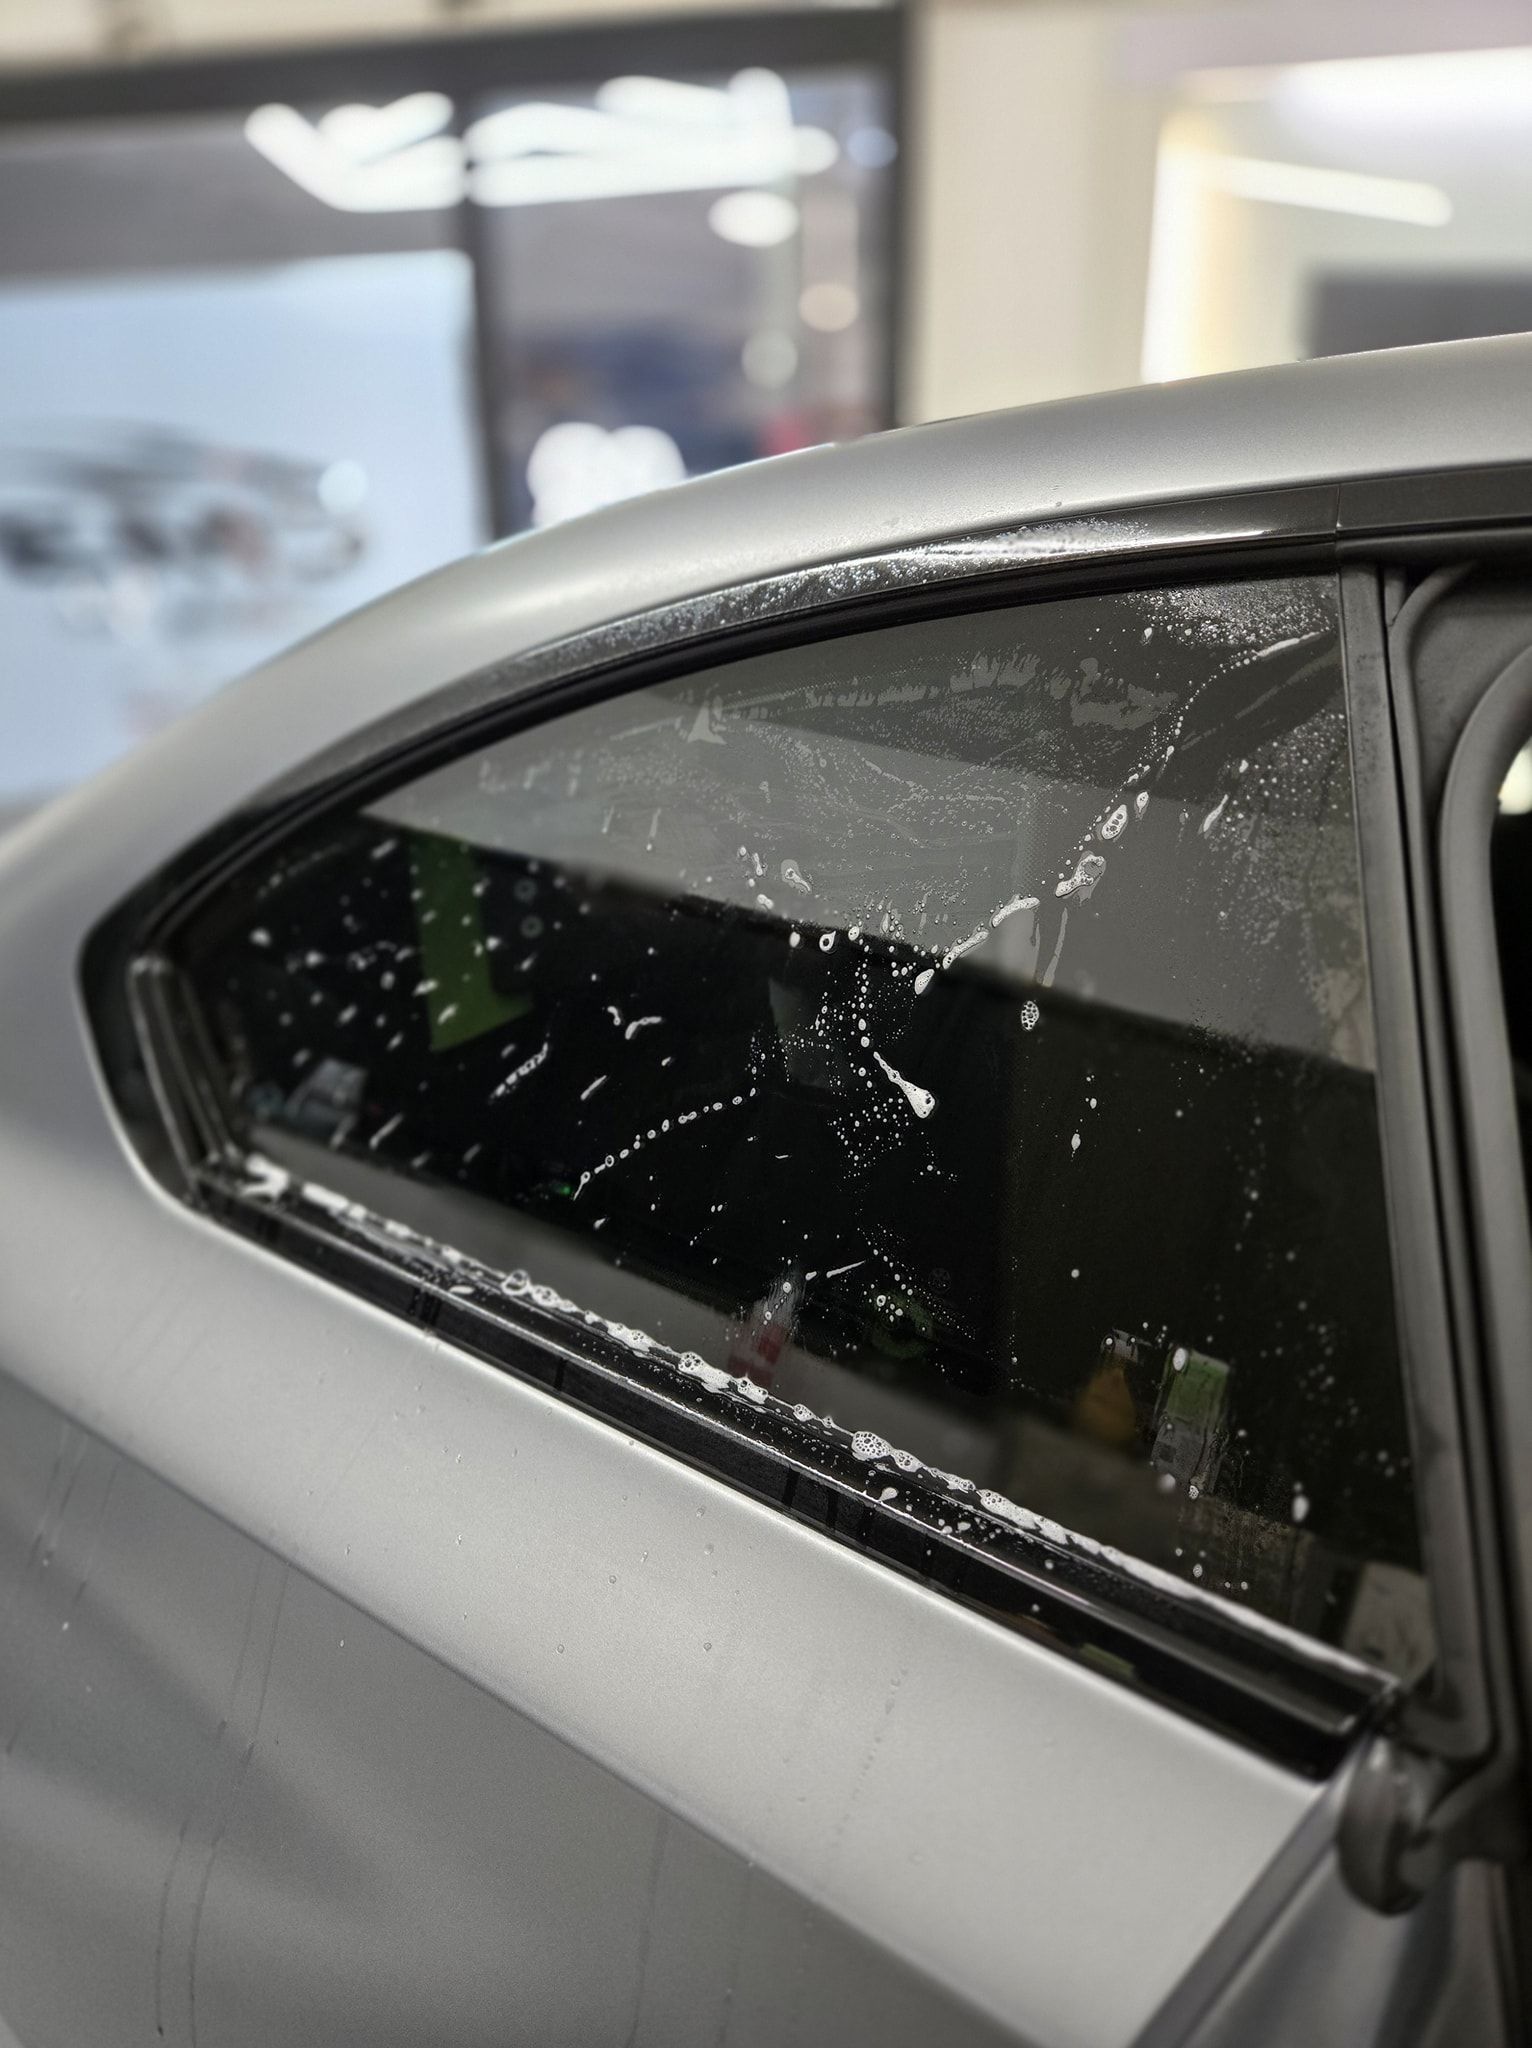
One of the most overlooked but critical steps during tint installation is the thorough cleaning of windows beforehand. Think of it like trying to paint a wall that hasn't been wiped down; dust and debris cause the paint to bubble, flake, or stick unevenly. The same happens with window tints. Even microscopic dust specks can trap air beneath the film, producing frustrating bubbles that mar your tint's appearance and reduce its lifespan.
A significant portion of bubbling complaints stem directly from insufficient cleanliness prior to application. Cleaning isn't just about wiping the glass surface, either. Removing old adhesive residues, dirt from window tracks, and oils is equally essential. Professional installers often use specialized tools to delicately scrape off stubborn residues without scratching the glass. Skimping on this prep work might save time initially, but it results in visual flaws or early peeling that demand costly fixes. That's a poor trade-off for a task easily handled with care.
Another frequent pitfall is improper film application. When the tint isn't perfectly aligned or trimmed, wrinkles, creases, and gaps at the edges become apparent almost immediately. This misalignment not only ruins the smooth look you're expecting but also exposes edges where peeling begins. Since window tint films adhere primarily through their edges, any tiny lift can rapidly grow as heat cycles cause expansion and contraction of both glass and film. This issue is often made worse when installers skip or improperly use slip solutions, which are the mild soapy liquids applied during installation to allow precise positioning before permanent adhesion.
Too little slip solution causes dry patches, while too much can lead to prolonged curing times or trapped moisture pockets underneath. User-related factors also play a significant role. Rolling windows down too soon after installation interferes with the curing process, potentially lifting edges or causing bubbling along the window seals. Most professionals recommend avoiding any window movement for a minimum of 48 hours post-installation to safeguard proper bonding.
Legal Tint Guidelines
Beyond installation quality, another common mistake is failing to verify your local regulations on tint darkness and reflectivity. Each region has precise rules for how dark your tint can be, often expressed as a minimum Visible Light Transmission (VLT) percentage. Ignoring these rules can result in fines or the need to remove the tint entirely. Over-tinting the windshield is another frequent error. Most jurisdictions permit only a small tinted band at the top of the windshield, typically a few inches. Going beyond that allowance leads to immediate violations.
Certain tint colors are also prohibited in most regions because they reduce visibility and can confuse other drivers regarding signals and intentions. It's important to confirm which colors are permitted in your area before installation. Additionally, many jurisdictions require dual side mirrors if rear window tints exceed certain darkness levels, so skipping this requirement compromises both safety and compliance.
Cleaning Mistakes to Avoid
One of the most common traps after getting windows tinted is cleaning them too soon or with the wrong products. Using ammonia-based cleaners is a mistake that can irreversibly damage your tint. Ammonia eats away at the tint adhesive, causing bubbling, peeling, and discoloration. These issues affect how your tint looks and reduce its ability to block heat and UV rays effectively.
Even though it's tempting to clean immediately because new tints may have visible cloudiness or water bubbles, this phase is part of what professionals call the curing period. This period typically lasts from a few days up to two weeks. During this time, the adhesive binding the tint film to the glass is still drying and setting. Disturbing this process by cleaning too soon or rolling down windows can lead to lifting edges and eventual peeling. Patience here is a necessity, not just a virtue.
It also matters how you clean your tinted windows once they are ready. Using harsh or abrasive tools such as rough sponges or scrubbing pads will scratch or even puncture the delicate film surface. Soft microfiber cloths are the right choice; they glide over the tint without causing damage. Avoiding high-pressure water jets on windows immediately after installation is equally important, as the force can lift film edges where adhesives have not fully bonded yet.
Another subtle mistake is relying on soap solutions that are not suited for tint care. Household dish soaps may contain chemicals harsh enough to degrade tint films over time. Mild, pH-neutral, ammonia-free cleaners designed for automotive glass are the professional recommendation. These maintain clarity without breaking down adhesives. Regular but careful maintenance after the tint has fully cured is also important. Cleaning your windows every couple of weeks helps maintain visibility and protects your investment. Always use gentle wiping instead of scrubbing, and remember that your tint performs best when treated like a delicate surface rather than standard glass.
Proper Maintenance Tips
Maintaining your car window tint is a thoughtful process that protects the film's long-term integrity. Cleaning tinted windows frequently but gently using a soft microfiber cloth with a mild, ammonia-free soap will protect the film from scratches and chemical damage. Consider how often your car windows encounter direct sunlight, especially if you park outside regularly. UV rays are a significant enemy of window tint films. Parking in shaded spots or using sunshades reduces heat and light exposure, which helps prevent fading and stops the adhesive from breaking down over time. This simple habit can meaningfully extend the useful life of your tint and help you avoid the cost of early reapplication.
During the initial curing phase right after installation, be patient. The adhesive on the tint film needs several days, and sometimes up to two weeks depending on climate and product type, to fully bond with the glass. Avoid rolling your windows down during this period, as even slight movement can lift or wrinkle the edges. Rushing the cure process is one of the primary reasons tint jobs fail prematurely. As time goes on, routinely inspect your tint edges for any sign of peeling or bubbling. Even small issues, if left unaddressed, can grow into larger repairs. Consulting with professionals early on when you spot these warning signs can save you from full replacement costs. When cleaning after the curing stage, always use soft microfiber cloths paired with mild, ammonia-free cleaners designed specifically for automotive glass.
Choosing Quality Tint Film and a Professional Installer
The quality of the tint film you choose directly affects both its protective performance and its longevity. High-quality films typically block a high percentage of UV rays, which protects both your skin and your car's interior. Premium options, such as ceramic or carbon films, also provide strong heat rejection, keeping your car noticeably cooler and reducing wear on upholstery. Cheaper dyed films, while affordable upfront, tend to fade faster and are more prone to bubbling and peeling over time. Ceramic films are top-tier for blocking heat and UV rays without interfering with GPS or phone signals. Carbon films offer a solid balance of affordability and performance, resisting fading better than dyed options. Metalized films provide excellent durability and heat rejection but may cause some interference with electronic signals, which is worth considering depending on your vehicle.
Quality tint brands often provide strong warranty coverage addressing bubbling, fading, or peeling issues, giving you additional peace of mind on your investment. When it comes to installation, the skill of the installer matters just as much as the quality of the film. Seasoned professionals understand the nuances of proper surface preparation, precise cutting, and expert application techniques that most novices overlook. Look for installers who are certified by recognized industry bodies, as this signals proper training and adherence to professional standards. Reading customer reviews, checking for clear communication about their process, and confirming they offer warranty coverage on their work are all reliable ways to identify a trustworthy professional. Choosing a skilled installer and high-quality film together is the most effective combination for avoiding costly errors and ensuring your tint remains protective, clear, and attractive for years to come.
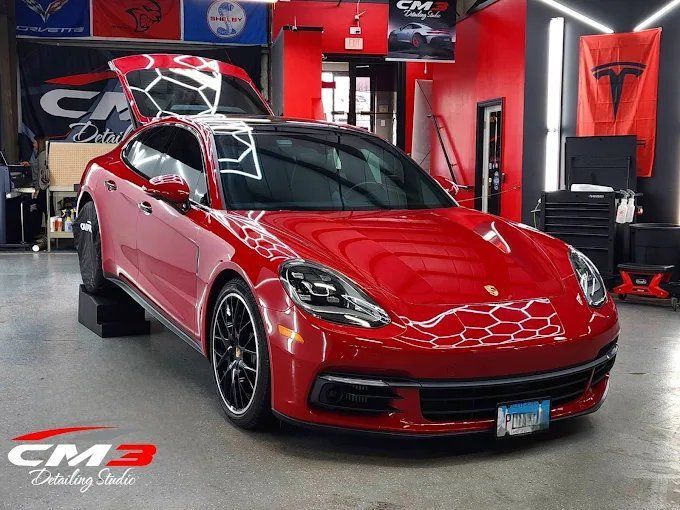
Professional Auto Window Tinting Services in Elgin, IL
Protecting your new window tint starts with professional installation you can trust. At CM3 Detailing Studio & Ceramic Coating, we provide
expert auto window tinting services in Elgin, IL designed to improve comfort, reduce glare, and help maintain a clean, refined appearance for your vehicle. Our team focuses on careful preparation, precise film application, and high-quality materials so your tint performs reliably through daily driving and changing weather conditions.
Schedule your auto window tinting service with us and enjoy a cooler, more comfortable driving experience around Elgin, IL!