How Long Does Auto Window Tint Take to Cure? What to Expect
Getting your car windows tinted is one of the smartest upgrades you can make for privacy, glare reduction, and interior comfort. But once the film is on, many drivers wonder the same thing: how long before everything is fully set and ready for normal use? The curing process is something many people overlook, and rushing it is one of the most common reasons tint jobs fail early. This guide walks you through what happens during curing, what affects drying times, and how to take care of your tint so it looks and performs at its best for years to come.
What Happens During the Curing Process
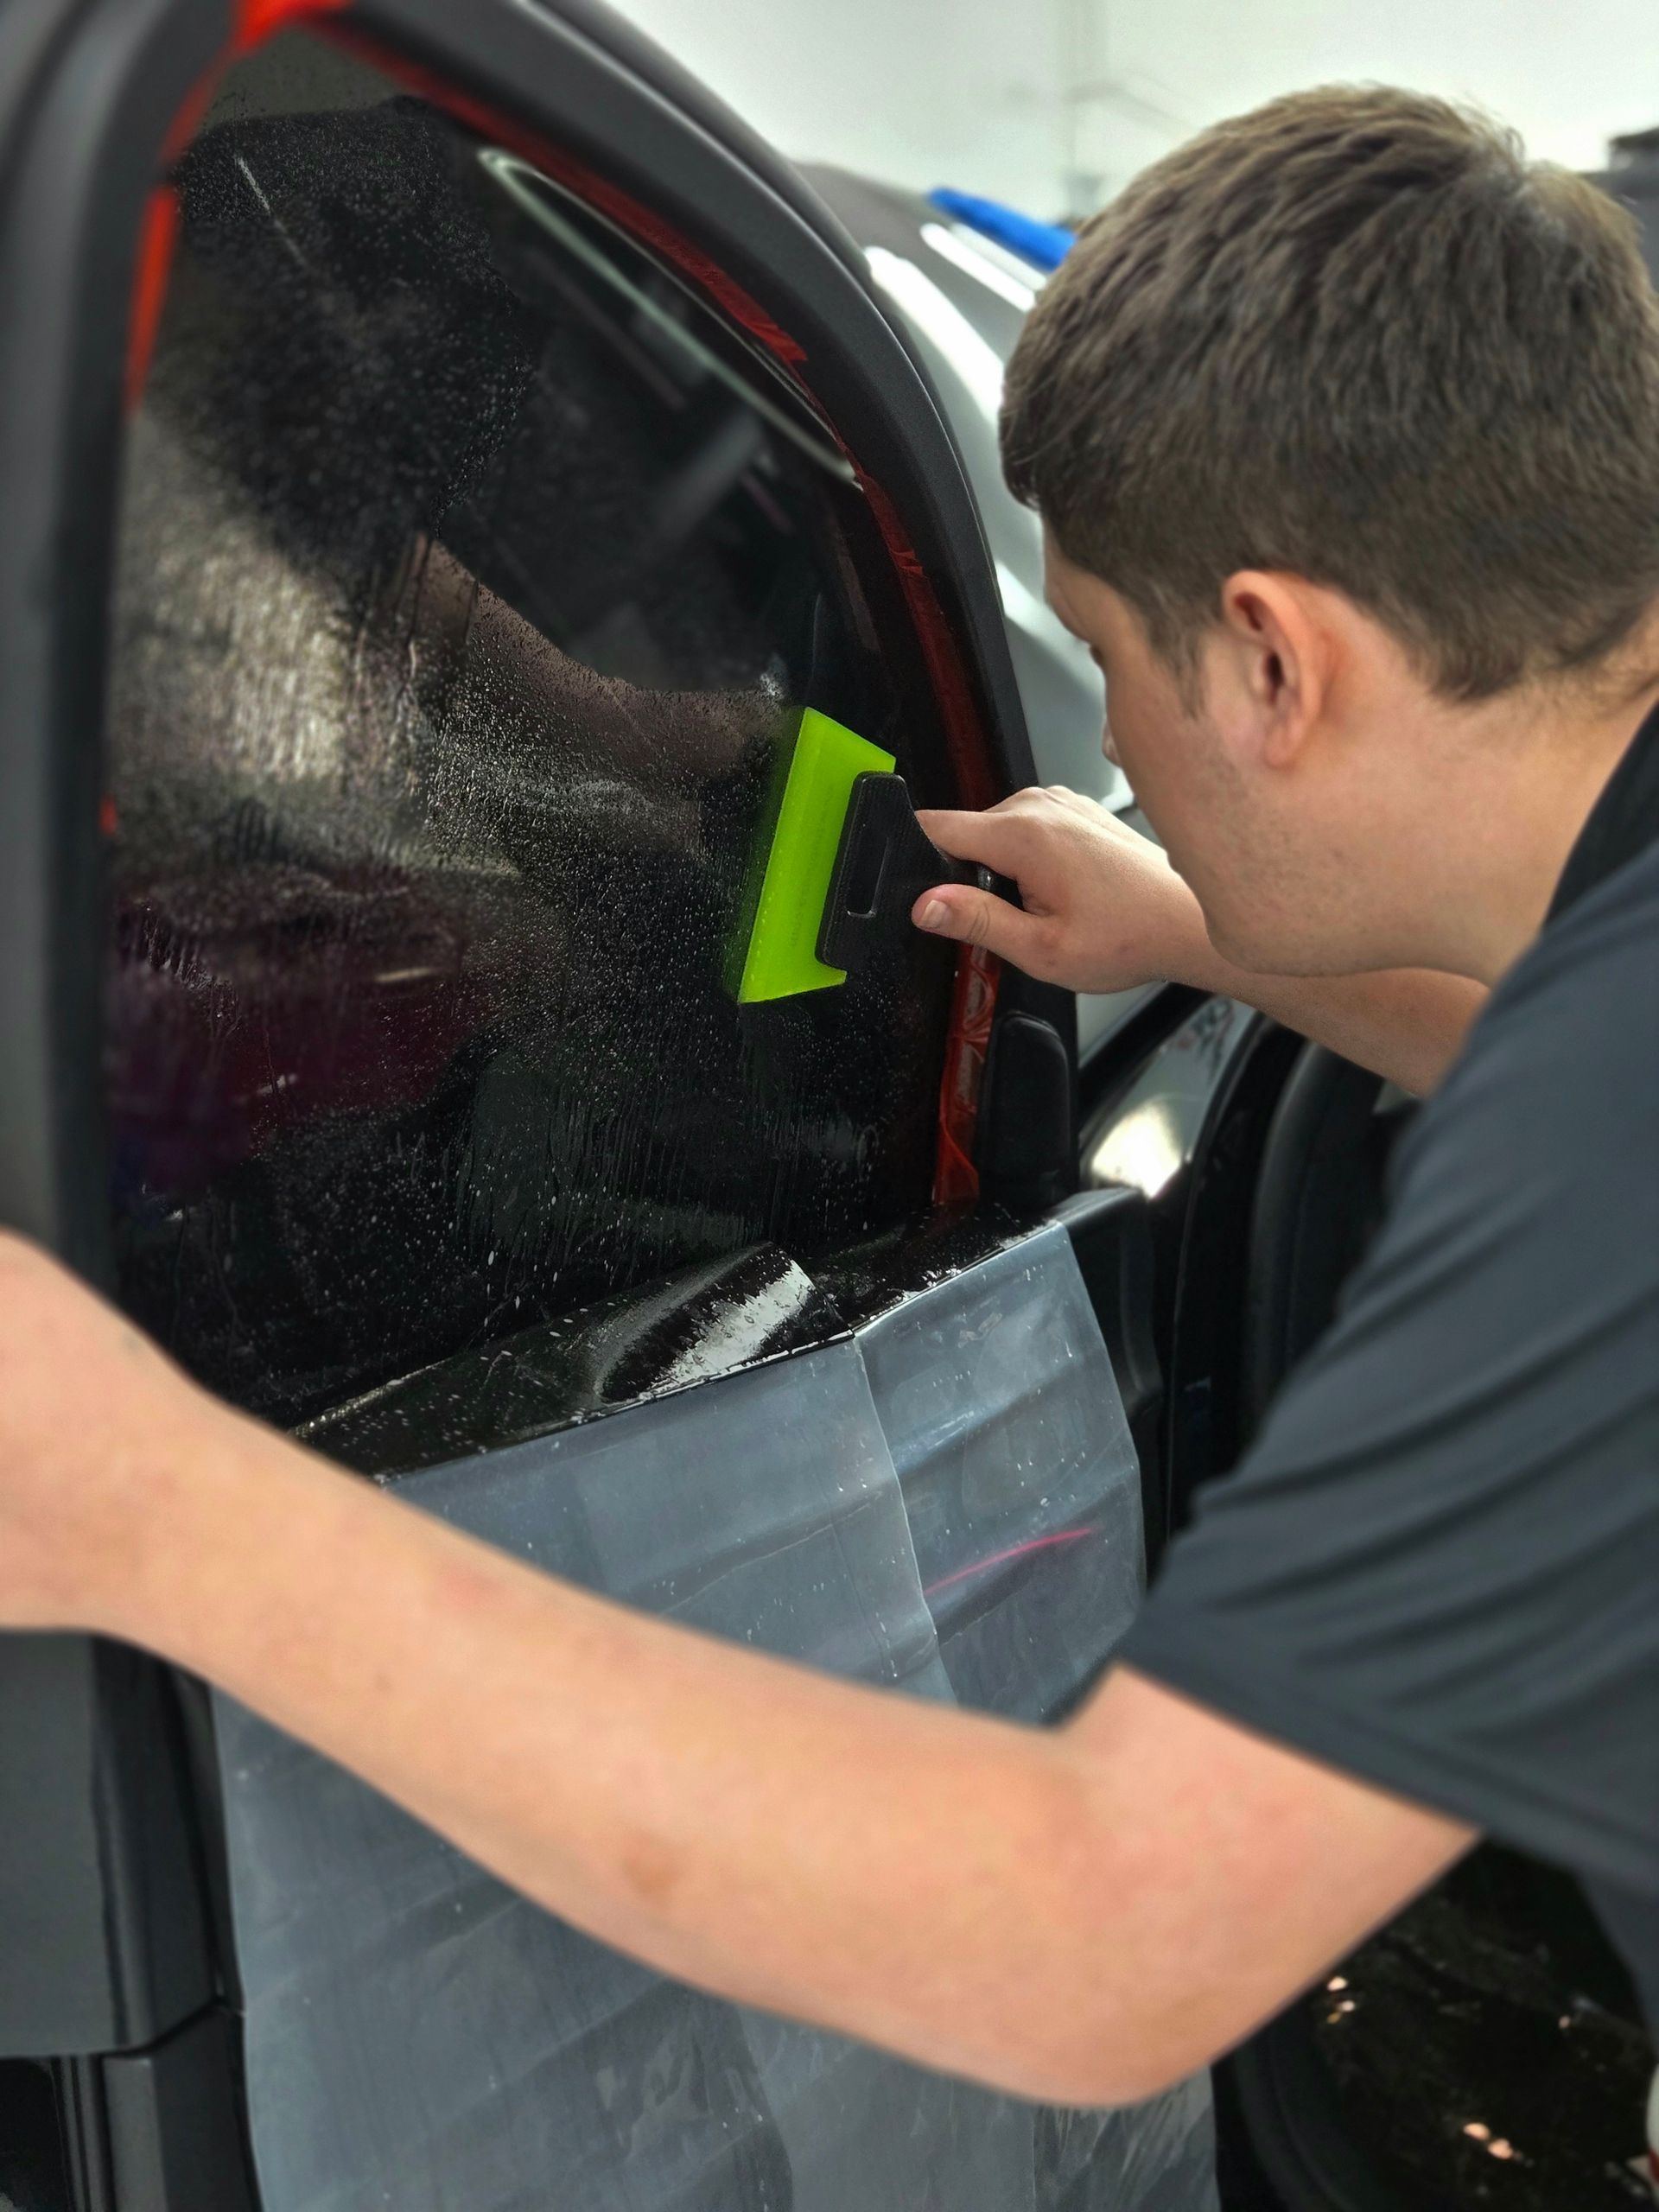
When window film is applied to your car, the installer uses a squeegee to press out air bubbles and smooth the film so it bonds cleanly to the glass. Any trapped air or moisture left behind can eventually turn into visible bubbles or soft spots that compromise both appearance and durability.
Once the film is in place, curing begins right away. The process involves the evaporation of water and solvents within the adhesive layer that bonds the tint to the glass. Think of it like paint drying: the film is not truly finished until those solvents have fully evaporated and the adhesive has formed a secure, lasting bond. During this window of time, keeping your windows rolled up is critical. Lowering them too soon can cause the edges to peel or the film to shift because the adhesive has not yet hardened.
Auto window tint typically takes between three and five days to fully cure under normal conditions. For most installations, waiting at least 48 to 72 hours before rolling windows down is a reasonable minimum, though several factors can push that timeline longer.
Factors That Affect Curing Time
Environmental conditions have a significant impact on how quickly your tint cures. Humidity is one of the biggest variables. In areas with high moisture in the air, the solvents in the tint adhesive evaporate more slowly, which means the film stays soft and vulnerable for a longer period. Coastal regions or rainy climates can add several days to the curing process compared to dry, arid areas. The natural drying process depends on solvent evaporation, so excess humidity in the environment works against that directly.
Temperature plays a closely related role. Warmer conditions accelerate curing because heat encourages faster evaporation. On a warm, sunny day, standard films can approach the shorter end of the recommended curing range. In cooler weather, especially below 60 degrees Fahrenheit, drying slows considerably, and curing can stretch to a week or longer. Cold conditions also temporarily stiffen the adhesive, meaning the film needs more time to settle and seal properly.
The type and quality of the tint film itself also matters. Higher-quality films tend to use more advanced adhesives that bond evenly and securely within a few days under typical conditions. More affordable or generic films can take longer to stabilize and are more susceptible to imperfections if disturbed too soon. Thicker films, such as ceramic or metallic options, generally require more time despite their premium construction, simply because their added thickness traps solvents that need extra time to dissipate. Standard dyed films around 1.5 mils thick typically settle in three to five days, while thicker options can take up to two weeks.
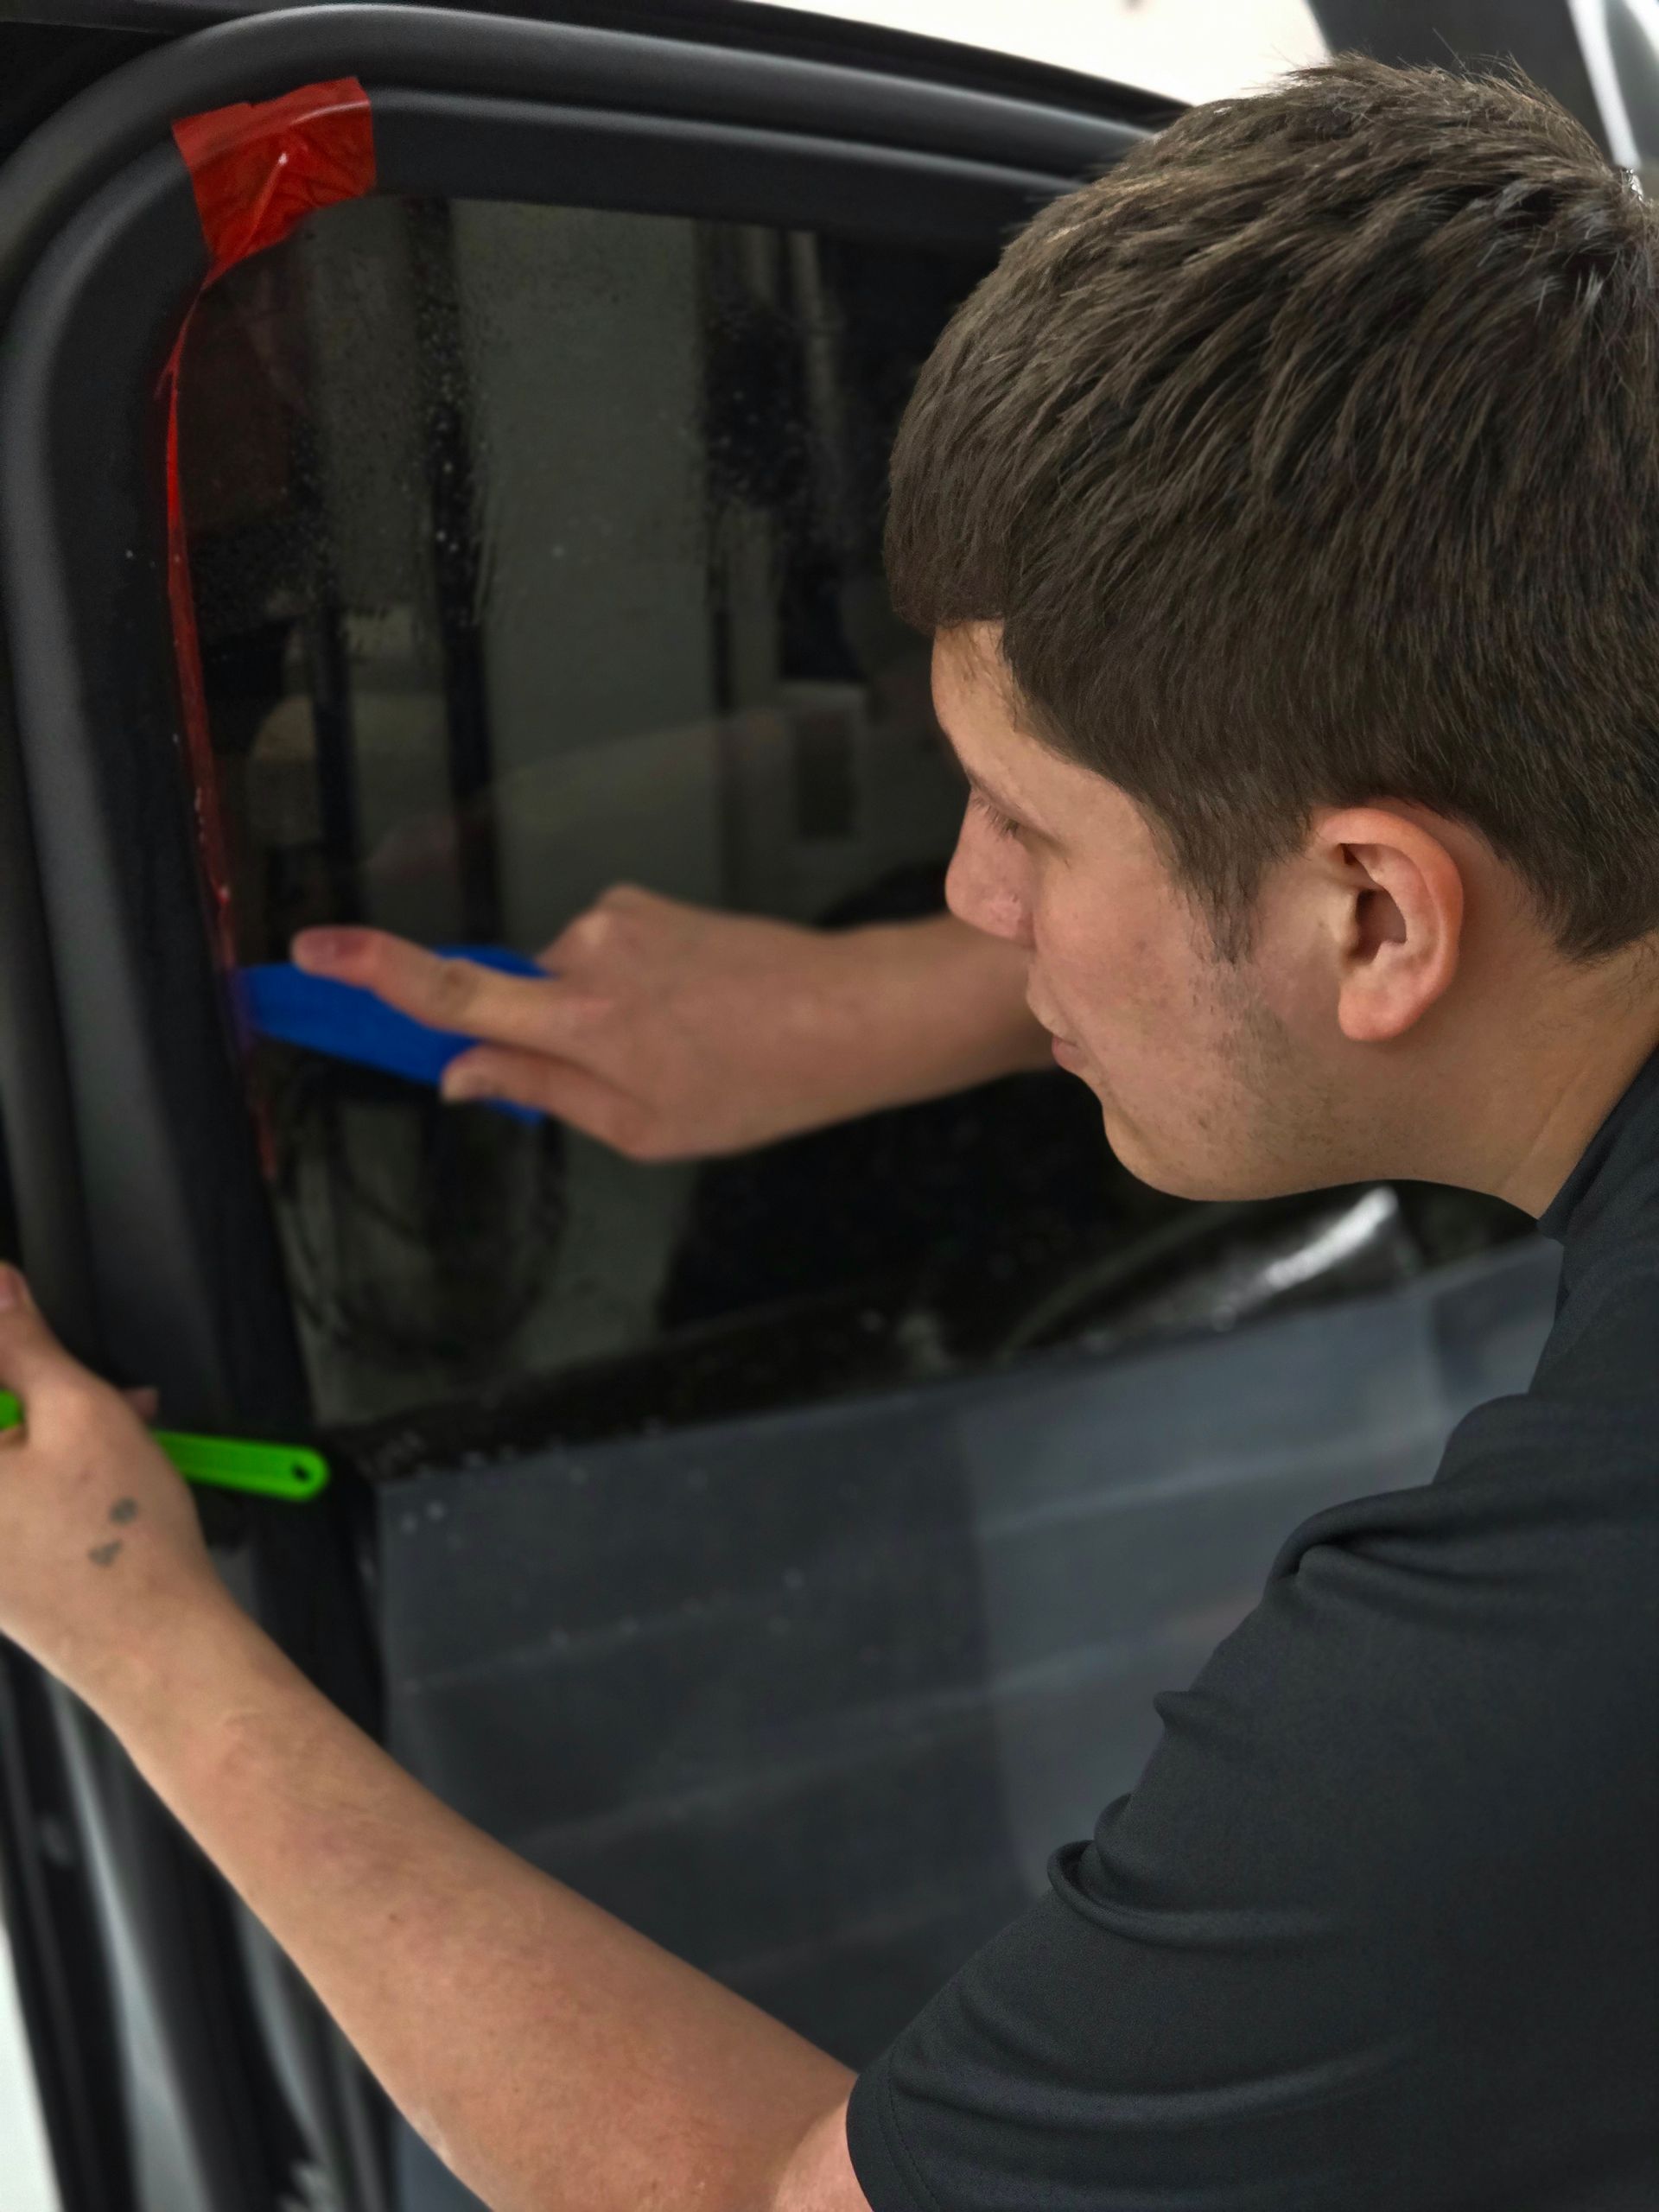
Installation quality also directly affects how long curing takes. A thorough installation includes proper surface preparation, careful squeegee work, and the use of a heat gun after application to accelerate moisture evaporation. When installers skip these steps or do them incompletely, more moisture gets trapped beneath the film, which lengthens curing time and increases the likelihood of bubbling or lifting. A high-quality installation from the start makes a real difference in both curing time and long-term results.
Where the film sits in relation to your window's rubber gasket is another consideration. Tint installed below the gasket line tends to cure faster and can usually handle being rolled down sooner. If the film extends up to or around the gasket, or if your vehicle has frameless windows that lower slightly when the door opens, installers typically recommend waiting a full two to three days at minimum to reduce the risk of edge peeling.
How Weather Conditions Influence the Timeline
Temperature deserves a closer look because it has such a direct effect on curing outcomes. The sweet spot for optimal curing falls roughly between 70 and 90 degrees Fahrenheit. In this range, moisture beneath the film evaporates steadily, the adhesive bonds at a healthy pace, and the overall process moves along without complications. During summer months, this kind of consistent warmth means many vehicles can have their windows rolled down safely within 24 to 48 hours in favorable conditions.
Below 60 degrees Fahrenheit, the timeline shifts considerably. Cooler temperatures make it harder for moisture to escape from under the film's surface, and the adhesive properties of the tint temporarily stiffen, making it harder for the film to settle properly. Plan for more patience during colder seasons or when your car is stored in a shaded or enclosed area during curing.
Direct sunlight can actually speed up curing by providing radiant heat that energizes the adhesive bonding process. Parking in the sun after a tint installation is something many installers recommend when weather permits. That said, extremely hot conditions above 100 degrees Fahrenheit can create their own challenges, so a moderate, consistently warm environment is the real goal.
Rain and snow introduce additional complications. Moisture in the air can prevent proper drying or increase the risk of water droplets interfering with the film if windows are moved prematurely. Choosing an installation day with favorable weather and keeping the vehicle sheltered during curing goes a long way toward avoiding these issues.
How to Know When Your Tint Has Fully Cured
There are reliable physical and performance signs that tell you your tint has finished curing. The most obvious is appearance: the film should look smooth and uniform across the entire window, with no bubbles, hazy patches, or streaks. In the first day or two after installation, small water pockets or slight cloudiness are normal and expected as the film begins to dry. These should fade and disappear as curing progresses. If they persist beyond the recommended curing window, that is a sign the adhesive has not bonded properly.
The feel of the film is another indicator. A fully cured tint will be smooth to the touch, without any tackiness or soft spots. The edges should lie flat and feel firmly attached to the glass. Gently pressing on a corner should not cause lifting or wrinkling.
Performance is the final test. Rolling the windows down and back up should produce no bubbling, shifting, or edge lifting. There should be no fogging or condensation visible beneath the film, as that typically signals moisture that has not yet escaped.
It is worth noting that environmental conditions affect how quickly these signs appear. In warm, sunny climates, you may see all of these indicators within a few days. In cooler or more humid environments, curing slows, so some temporary imperfections may linger longer before resolving.
Common Issues During Curing and How to Avoid Them
Bubbling is one of the most frequent problems that come up during curing. These small pockets form when air or moisture gets trapped beneath the film during installation. Small bubbles in the early days are normal, but if they persist or grow, it usually points to incomplete surface preparation or insufficient squeegee and heat work during installation. Bubbles weaken the adhesive bond and can develop into peeling if left unaddressed.
Peeling typically shows up at the edges of the film, often within the first few days. The root cause is almost always moisture left beneath the film or premature window operation that disturbs the adhesive before it has set. Making sure your installer uses thorough technique and following aftercare instructions carefully are the two best defenses against both bubbling and peeling.
Discoloration is a longer-term issue more commonly associated with lower-quality films. Films that use lower-grade dyes can begin to yellow, fade, or develop an uneven tone after prolonged UV exposure. This is not just a cosmetic problem; it often signals that the film's heat-rejection properties are also degrading. Choosing a quality film with proven UV resistance backed by a warranty is the most reliable way to avoid this outcome.
Metalized films introduce a separate concern that is not related to curing but worth knowing about. The metal particles embedded in these films can interfere with GPS, cellular, and radio signals inside your vehicle. Ceramic and carbon-based films offer comparable heat rejection without the signal interference, which is something to weigh when choosing your film type.
Tips for a Smooth and Successful Cure
Following your installer's aftercare instructions is the single most important thing you can do after a tint installation. Those guidelines are designed around the specific film and adhesive used, and they account for typical environmental conditions in your area. In general, keeping your windows rolled up for at least three to five days is the standard recommendation, though your installer may advise longer depending on the film type or current weather.
Parking location matters during curing. In cooler weather, parking in direct sunlight helps accelerate drying by warming the glass and film. On very hot days, shaded parking prevents overheating that could warp or prematurely stress the film. A moderate, consistently warm environment tends to produce the most reliable results.
After the first 24 hours, slightly cracking a non-tinted window can help reduce moisture buildup inside the cabin, which in turn helps the adhesive dry more evenly. Avoid rolling down any tinted windows during this period. Do not wash your vehicle for at least seven days after installation, and avoid abrasive cleaners or scrubbing tools on tinted windows for at least two weeks. Cleaning too soon or too aggressively can disrupt the adhesive layer before it has fully set, leading to scratches, lifting, or streaking.
If your installer places warning stickers over your window controls after installation, that is a helpful reminder worth respecting. It is a simple precaution that protects what you have just invested in. The curing period may feel like an inconvenient waiting game, but the patience you invest upfront pays off in a tint job that looks clean, performs well, and holds up over time. Give your tint the time it needs, follow through on the aftercare steps, and you will have windows that stay looking sharp and doing their job for years ahead.
Comfort, Clarity, and Control in Elgin
Give your vehicle the comfort and performance upgrade it deserves with CM3 Detailing Studio & Ceramic Coating in Elgin, IL. Our professional auto window tinting services are installed with precision to ensure a clean finish and proper curing, helping your film bond correctly for long-term results. From reducing glare and heat to improving privacy, every detail is handled with care so your tint performs exactly as it should.
Schedule your window tint service today and enjoy a smoother, cooler, and more comfortable drive every time you get behind the wheel!